
Is your Diff not gripping these days? Well the good news for you is rebuilding your Dana 60 Center section isn’t outside your reach. We took a peek in the Strange Engineering setup department to see how our trained setup technicians build our ultra-tough S60 units.
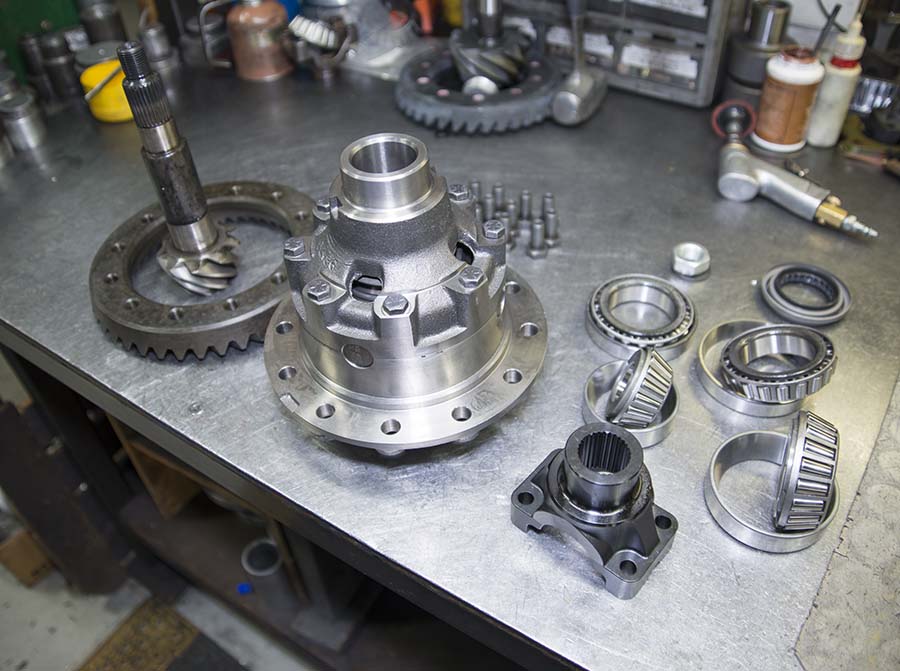
The first thing to do when beginning any project is to make sure you have all the required parts: ring gear, pinion gear, differential, four tapered roller bearings each consisting cup and cone, shims and of course the necessary hardware to bolt everything together. There’s nothing worse than tearing your rear axle apart to find that you’re missing a key component.
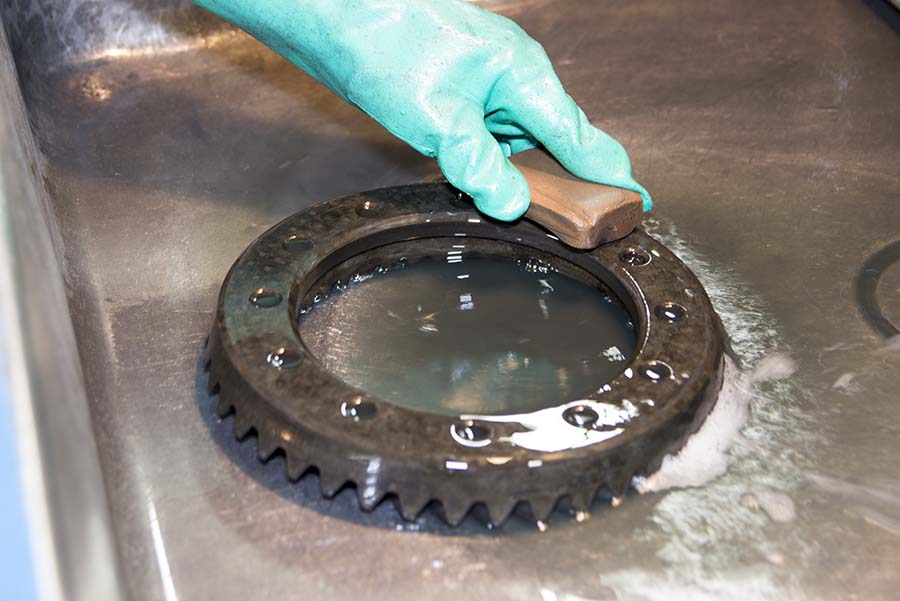
You’ll want to clean all the parts, in the manufacturing process of the gear set and bearings, rust preventative oil is slathered on to ensure that parts show up to the customer rust free. Rust preventative oil is great for keeping the parts corrosion free, it however does not lubricate like gear oil, and may interfere with it if not cleaned off properly before installation. You will want to clean up the backside of the ring gear. Even a small burr or high spot under load can cause issues under the intense load of racing. Using a stone will help ensure a flat, clean mating surface.
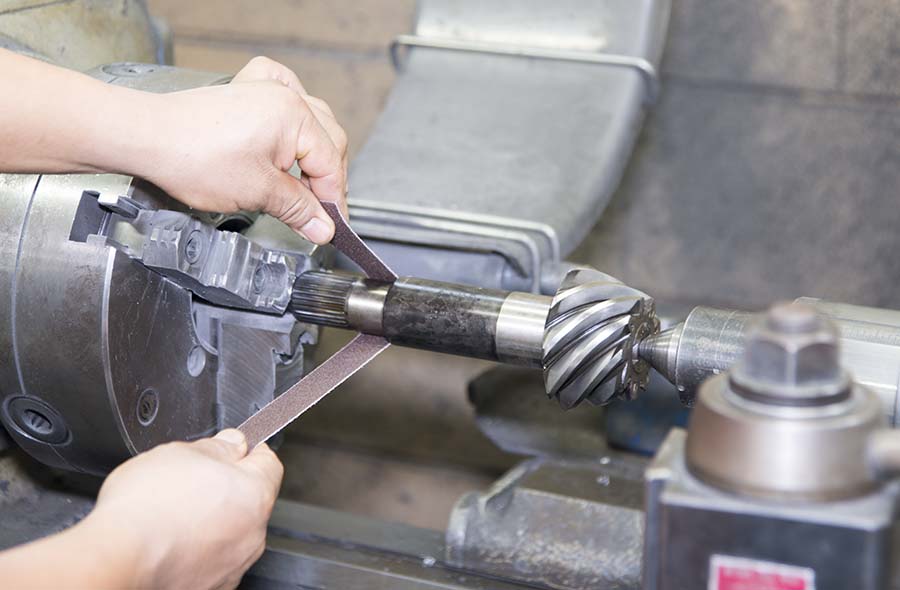
One of the tricks our techs use is polishing the area on the pinion gear where the front bearing sits. This allows for easily swapping pinion pre-load shims without having to press the front bearing on and off each time. This can save you lots of time as getting the pinion pre-load correct with multiple shims and everything torqued down can sometimes be a bit tricky.
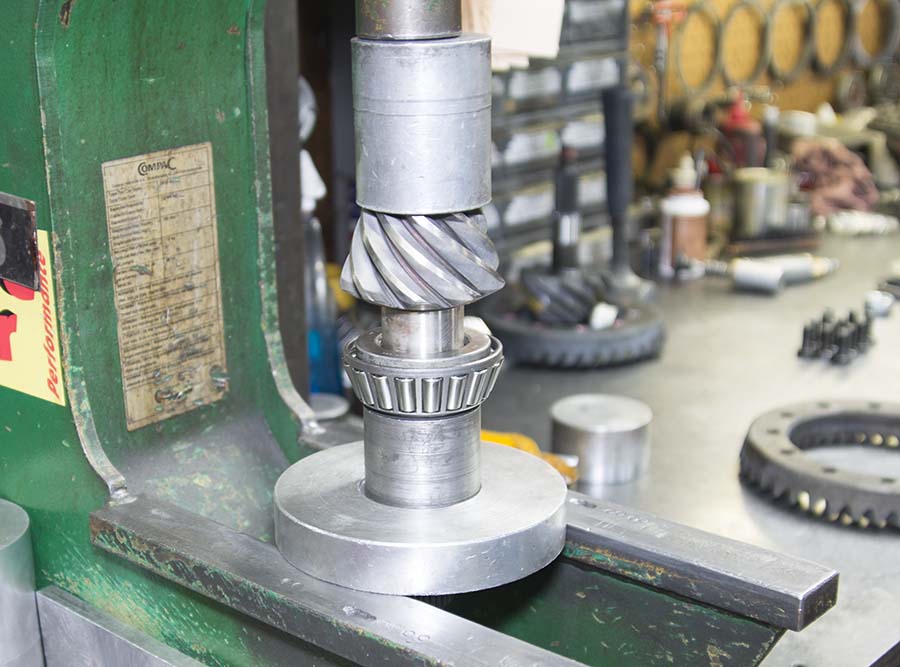
Press on the cone of the rear pinion bearing. Whatever you do, NEVER use a hammer to install a bearing on a shaft. It’s the single quickest way to ruin your bearings. When using a press be sure to use proper fixtures for the install. If you do not use the proper fixtures this is one task where it is easy to damage the tapered roller bearings. Any pressure on the steel window style cage will likely cause the cage to crack or deform, the cage is not designed to withstand axial or radial loads. The only job of the cage is to keep the rollers separated, so make sure that all force is applied to the solid steel inner ring of the bearing.
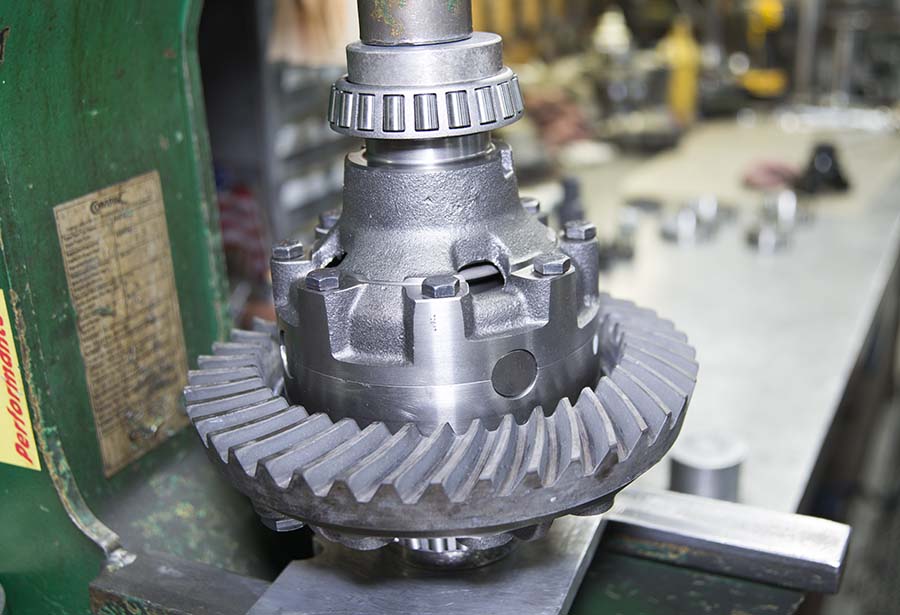
Install the cone carrier bearings and ring gear onto the differential, again using proper fixtures being careful not to damage the bearings.
Install ring gear bolts with a six point socket and torque. You MUST use red Loctite or equivalent thread locker on the threads of these bolts. These are the last bolts you want working their way loose in your diff. Torque specs for the Dana 60 are 120 ft/lbs.
Now comes the part that’s a bit more art than science. To set the pinion depth, place shims underneath the cup or outer race of the taper roller bearing.
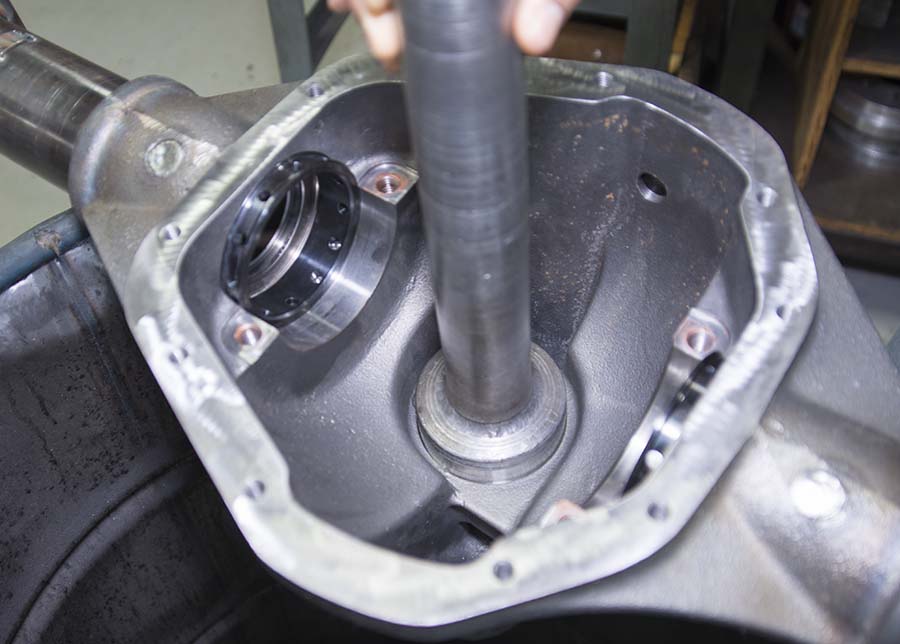
For our Strange Engineering S-60 housings we start with .015-.018 shim and make adjustments as needed. This is a process of trial and error until it’s just right. It may take a while, but it is critical for the life of your gear set that you take the time to adjust the pinion depth properly.
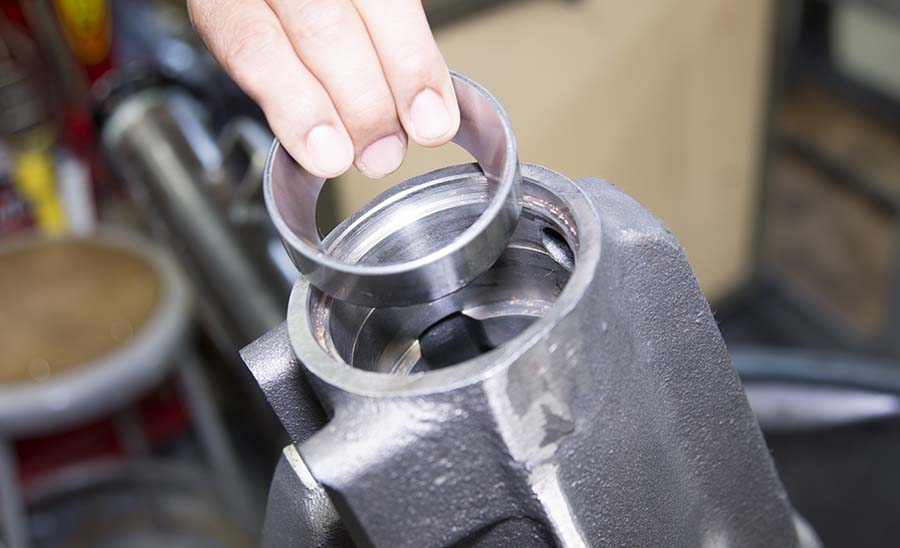
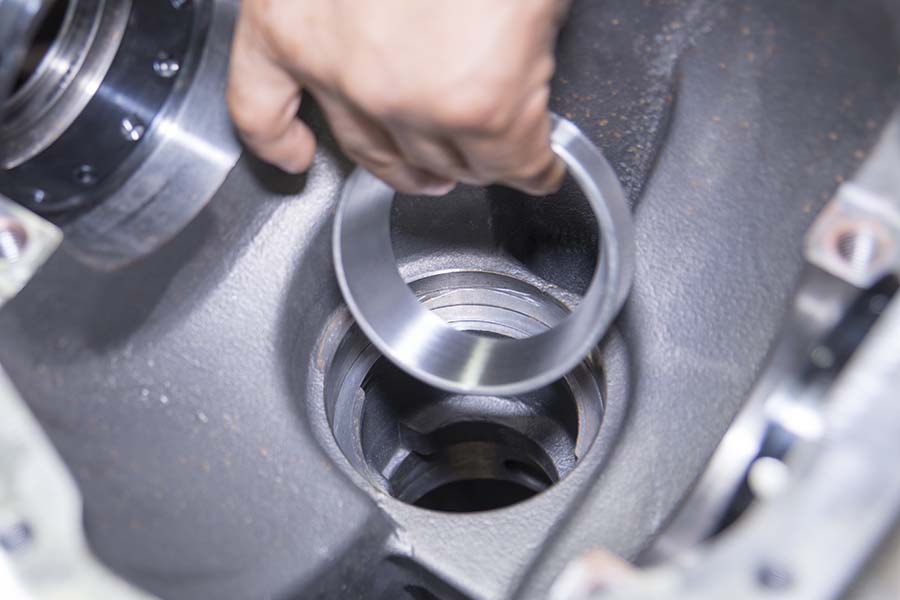
Next install the front pinion cup/outer race of the taper roller bearing. Take special care not to mar or damage the machined surface of the bearing when installing. You will need a properly sized race installer to install both front and rear races as shown in previous picture. Use the proper tool, if you try to use a socket and the socket shifts and takes a chunk out of the bearing raceway you’re buying a whole new bearing set.
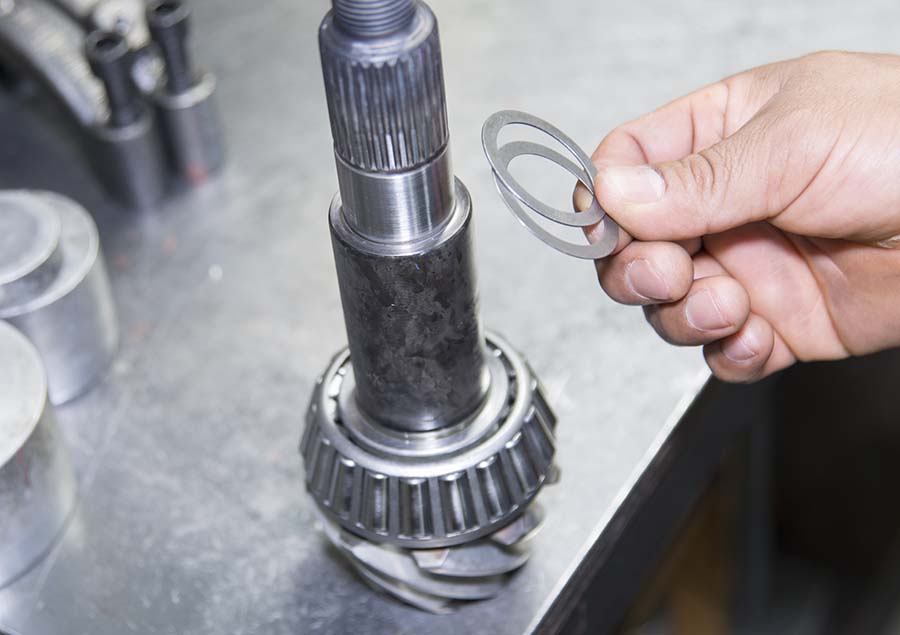
Shims are installed on the front of pinion and used to set pinion pre-load. Setting proper pinion pre-load will ensure long pinion bearing life, if the pre-load is too little the space between the cup and cone can be too great and under hard acceleration and braking can prematurely wear the bearings, setting it too high will cause increased friction and heat, leading to premature bearing failure.
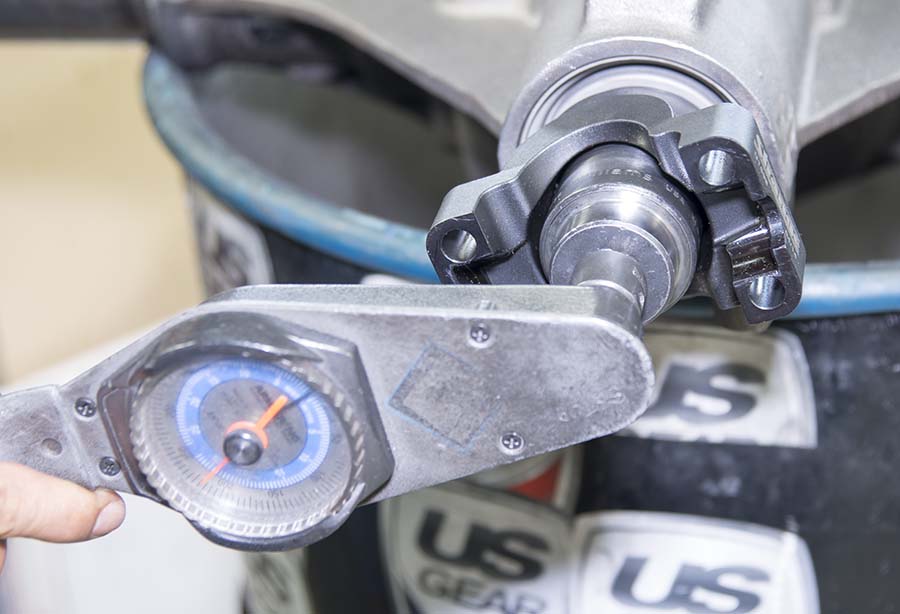
The pinion nut needs to be torqued to 250 ft/lbs. With the pinion bearing properly lubricated, increase or decrease the shim stack under the front bearing cone to achieve 20-25 inch/lbs of rotational drag or pre-load. This adjustment is why we recommended polishing the area on the pinion where the bearing rests; it can greatly speed up this process if you don’t get it right the first, second, or even third time.
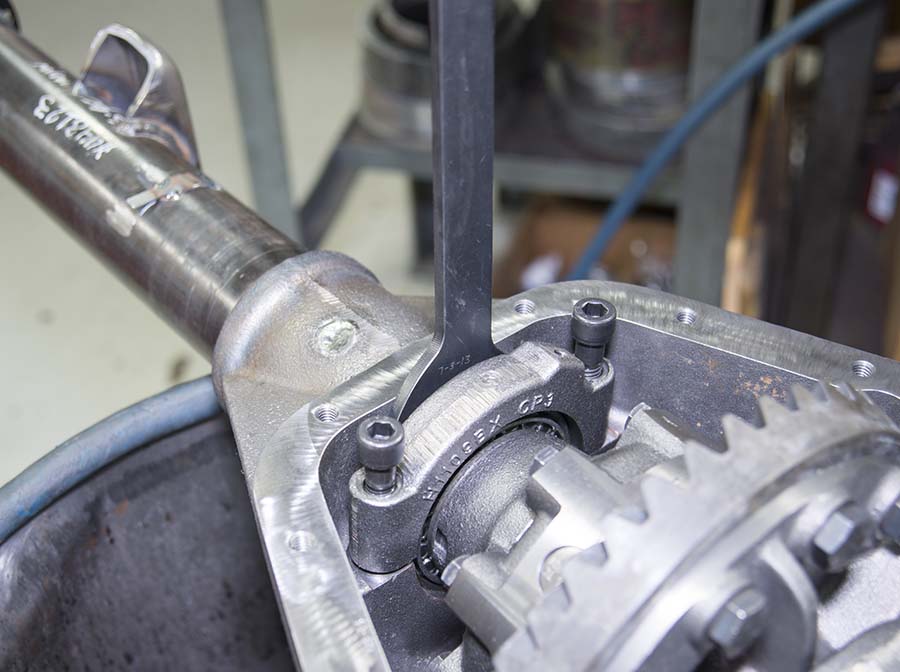
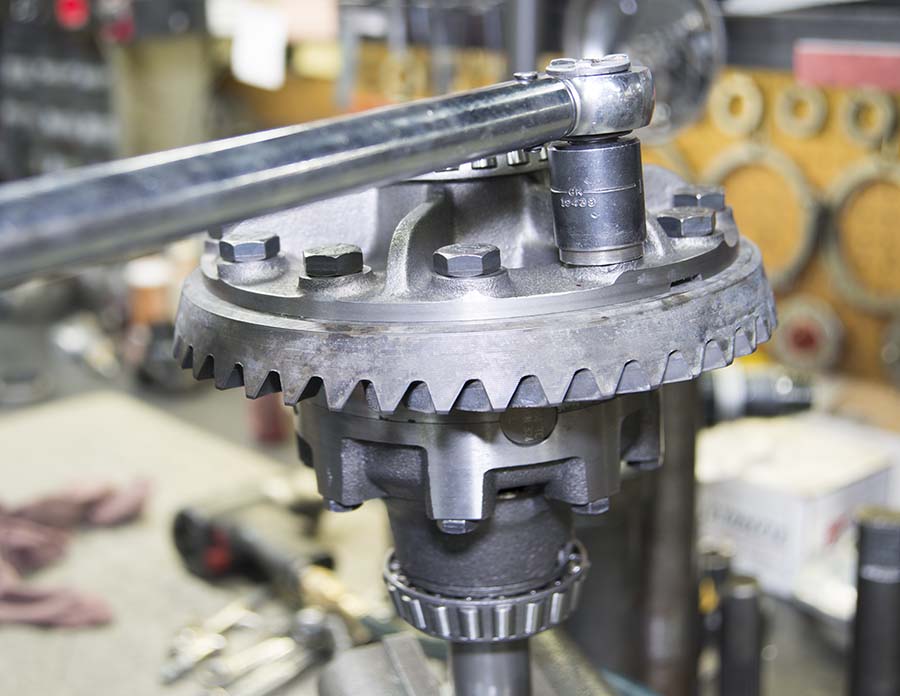
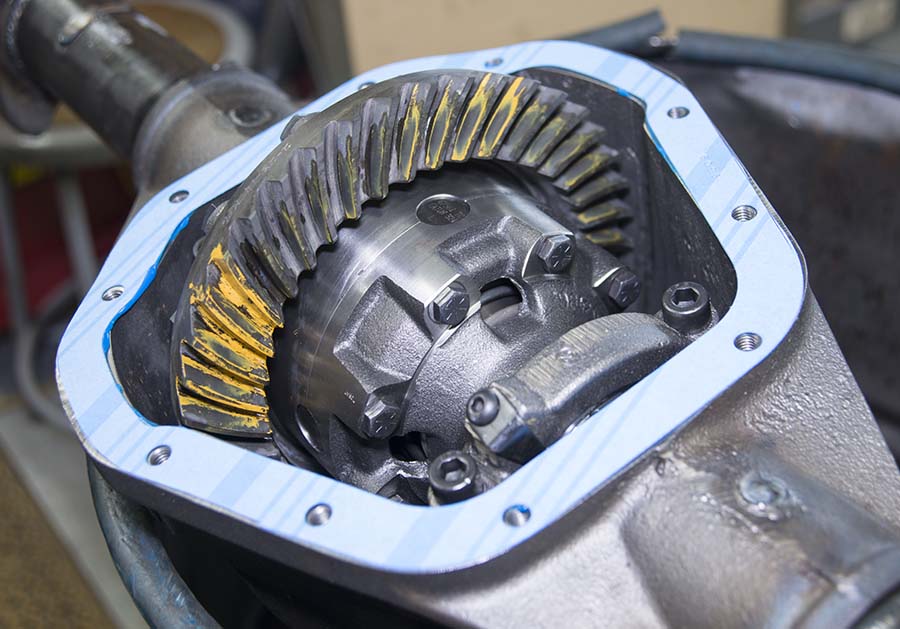
Next install the carrier with the ring gear and carrier bearings installed. Using the Strange Engineering Adjuster nut wrench (part #H1109D) make adjustments to the adjuster nuts to achieve proper backlash ( .005 – .010 )

Backlash should always be checked with the main caps torqued to spec. In the case of the Dana 60 90 ft/lbs is where it needs to be.

After the proper backlash is achieved and the main caps torqued, apply gear marking compound to the ring gear teeth both drive and coast side. (That’s both sides of the teeth on the ring gear.)
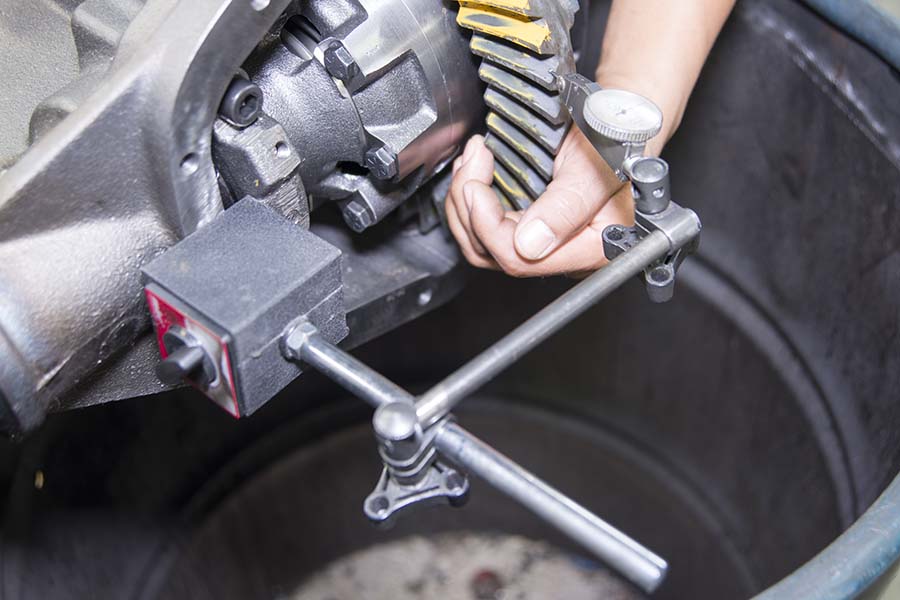
Spin the assembly to show gear contact pattern. Strange Engineering set up technicians use a socket on an air drill to spin the differential it by the pinion nut. You’re looking for an even thin oval shaped marking, both on the drive and coast sides, smack dab in the middle of the ring gear teeth. If you’re getting contact towards the peaks of the gear add a shim to increase pinion depth, do the reverse if the mark is too deep in the valley of gear. If the mark is too far towards the outside of the gear, keeping within spec decrease backlash to pull the mark closer in. Increase backlash if the mark is too far on the inside of the ring gear.
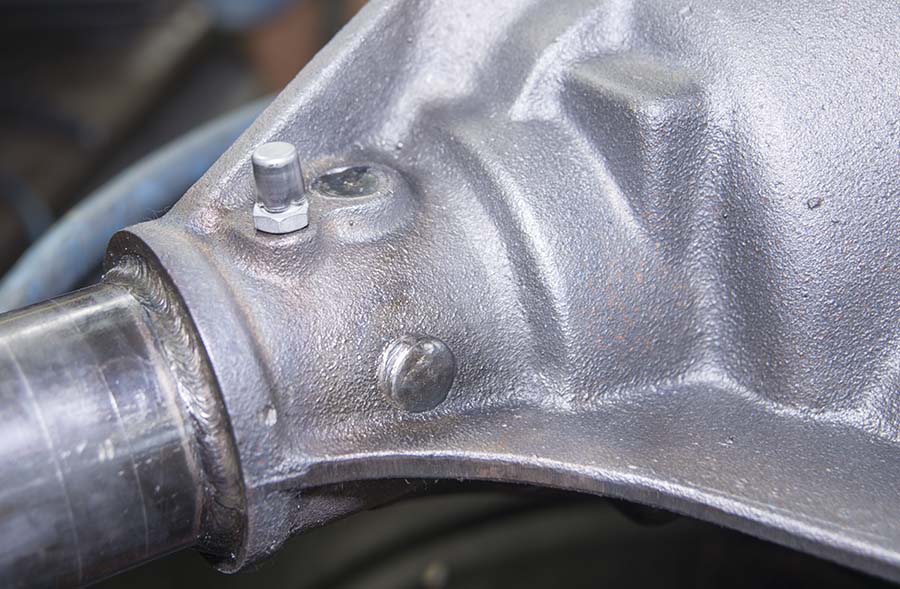
All Strange Engineering housings include a breather vent to prevent a buildup of pressure that could result in gear oil leakage or blown out axle seals for which your garage floor and nose will thank you.
When proper pinion depth and backlash is achieved, install the adjuster nut lock tabs. If using a steel cover apply a bead of RTV sealing to the housing flange and the cover sided of the gasket. If using a machined aluminum cover only use RTV. Install the diff cover and torque to spec. Install in your vehicle and hit the track!
If this whole process seems a bit daunting down worry, Strange Engineering offers full set up services!